m
e
n
u
3 Ways to Get Your Photography Blog Posts to Write Themselves

August 19, 2023
TABLE OF CONTENTS:
If you’re a wedding or elopement photographer who KNOWS you should be blogging the recent galleries you’ve been shooting, but just can’t seem to actually do it – you’ve made it to the right place. Welcome!!
Allow me to paint a picture for you real quick:
You finally blocked out a time to write a gallery blog post* this week – woohoo!! It’s the furthest you’ve gotten in months, and you’re surprisingly feeling really excited to blog this gallery. Maybe it’s an elopement you just shot that you’ll never forget, or a wedding at your all-time favorite venue that you want to rank for. You know your future clients are going to love scrolling through it, it’s going to look fire on your website, and Google is going to eat that shit uppp.
*I classify a “gallery blog post” as a blog post dedicated to showcasing one specific elopement, wedding, or photoshoot for SEO purposes, as opposed to an article blog post dedicated to delivering information about a specific topic.
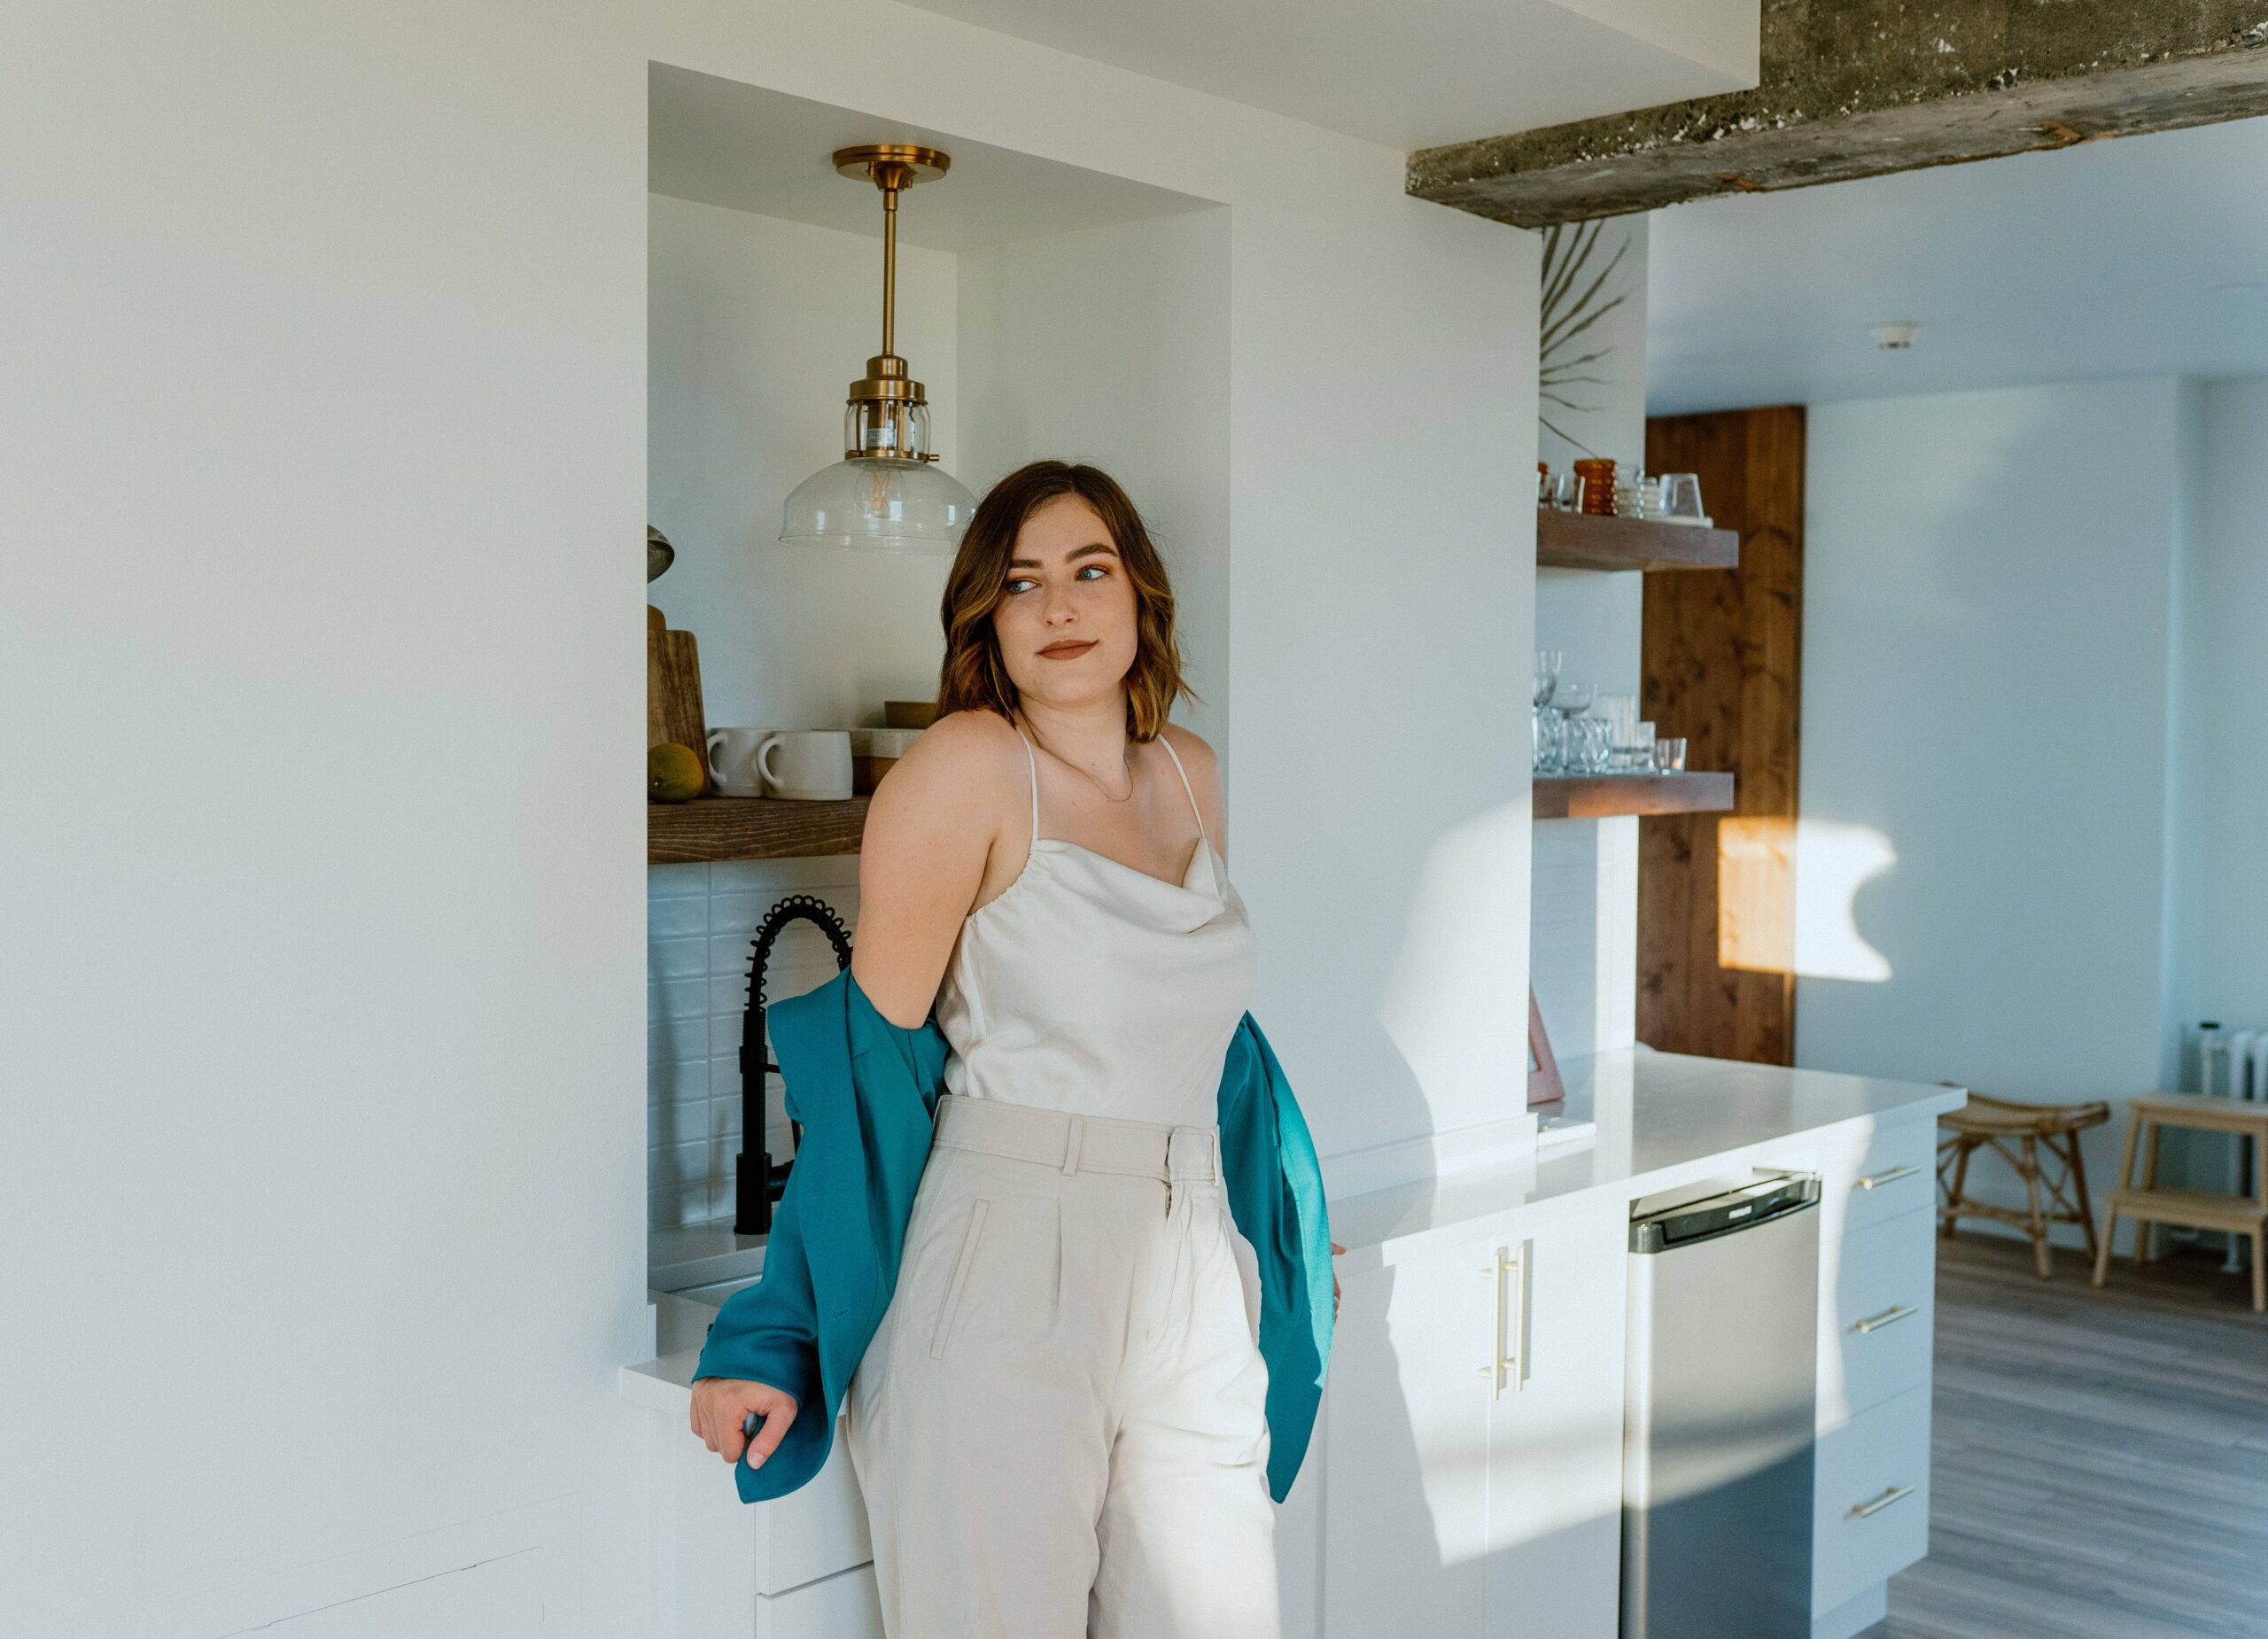
BUT. You sit down to start writing and all of a sudden, poof! Your mind is as blank as the damn Google Doc in front of you. Gone are all the ideas you had, along with any memory of the day/the shoot itself – and all you can remember are your clients’ names😵💫
Sound familiar? Mhmm, it should, because literally every photographer I’ve ever worked with has had this experience. It’s like when you sat down for a test in school and despite studying your ass off, everything disappears from your mind as soon as you pick up your pencil. Why don’t our brains know that it is NOT the time to finally successfully meditate & actually have a clear, present mind?
If you know me, you know I’m all about making things as EASY as possible, and making the barrier to entry as LOW as possible. This applies to everything in your business, but especially when it comes to writing blog posts: “how can this be as easy as possible for me to complete?”
*Enter: this blog post*
Over the years, I’ve developed a few different ways to do this – A.K.A. my “lazy blogging strategies” (can I trademark that?). I know that the word “lazy” tends to have a somewhat negative connotation, but I absolutely believe that you can find ways to make blogging easier and still get results!
I’ll stop the chatter for now and come back to you with another blog post about why I love lazy marketing later, and for now, I’ll get into whatcha came here for: my favorite 3 ways to get gallery blog posts to write themselves. These are 3 ways you can make your life SIGNIFICANTLY easier when you sit down to write, simply by thinking ahead + prepping a tiny bit in advance. Using these easy strategies should help the words start to flow much, much easier for you, my friend!

3 Ways to Get Your Blog Posts to Write Themselves
1. Ask your clients the right questions in advance
When I was shooting weddings, one of my favorite ways to get easy content for my blog posts was to ask my clients the right questions in advance. There were multiple points in my workflow where clients would fill out some sort of form or questionnaire – first when they inquired, then a pre-engagement session questionnaire, and finally, a pre-wedding questionnaire). These questionnaires were valuable for SO many reasons (the main one being gathering important information I needed to know in order to serve my clients best), which I’m sure you know – but have you ever thought about including questions in your questionnaire with the purpose of using them in your clients’ future blog post?
For example: in my inquiry form, I would ask couples to tell me how they met, and to describe their vision for their dream wedding/elopement day. These answers not only helped me discern whether or not we’d be a good fit, but ALSO gave me free, easy content to use in my blog post if we ended up working together!
Here are some sample questions taken straight from my old questionnaires that I would often take advantage of & use as blog content later on:
Inquiry form (these could also be asked on your initial call with your clients):
- How did you and your partner meet?
- How/when did you get engaged?
- What are some of your favorite things to do together?
- If you could describe your DREAM elopement day in just a couple of sentences, what would it look like? Take money, logistics, & societal expectations out of the equation!
Pre-engagement session questionnaire:
- What’s your favorite thing to do on a Friday/Saturday night together?
- What does a Sunday morning look like together? Or if you don’t live together, what do you think it would look like?
- What are each of your love languages?
Pre-wedding questionnaire (these may also be asked if you do a pre-wedding check-in call):
- Will you have any unique unity ceremonies, symbolic ceremonies, or cultural ceremonies happening that I should be aware of?
- What’s your color palette & why did you choose it?
- Do you have any sort of theme/specific vibe you’re going for?
- What will you be wearing?
- What are the top 5 most important photos you want to have from your wedding day?
- **BONUS: include a section in your questionnaire where your clients can add a full list of their vendors (names, websites, & IG handles). This will make it super easy for you to credit all the appropriate vendors in your blog post later on!
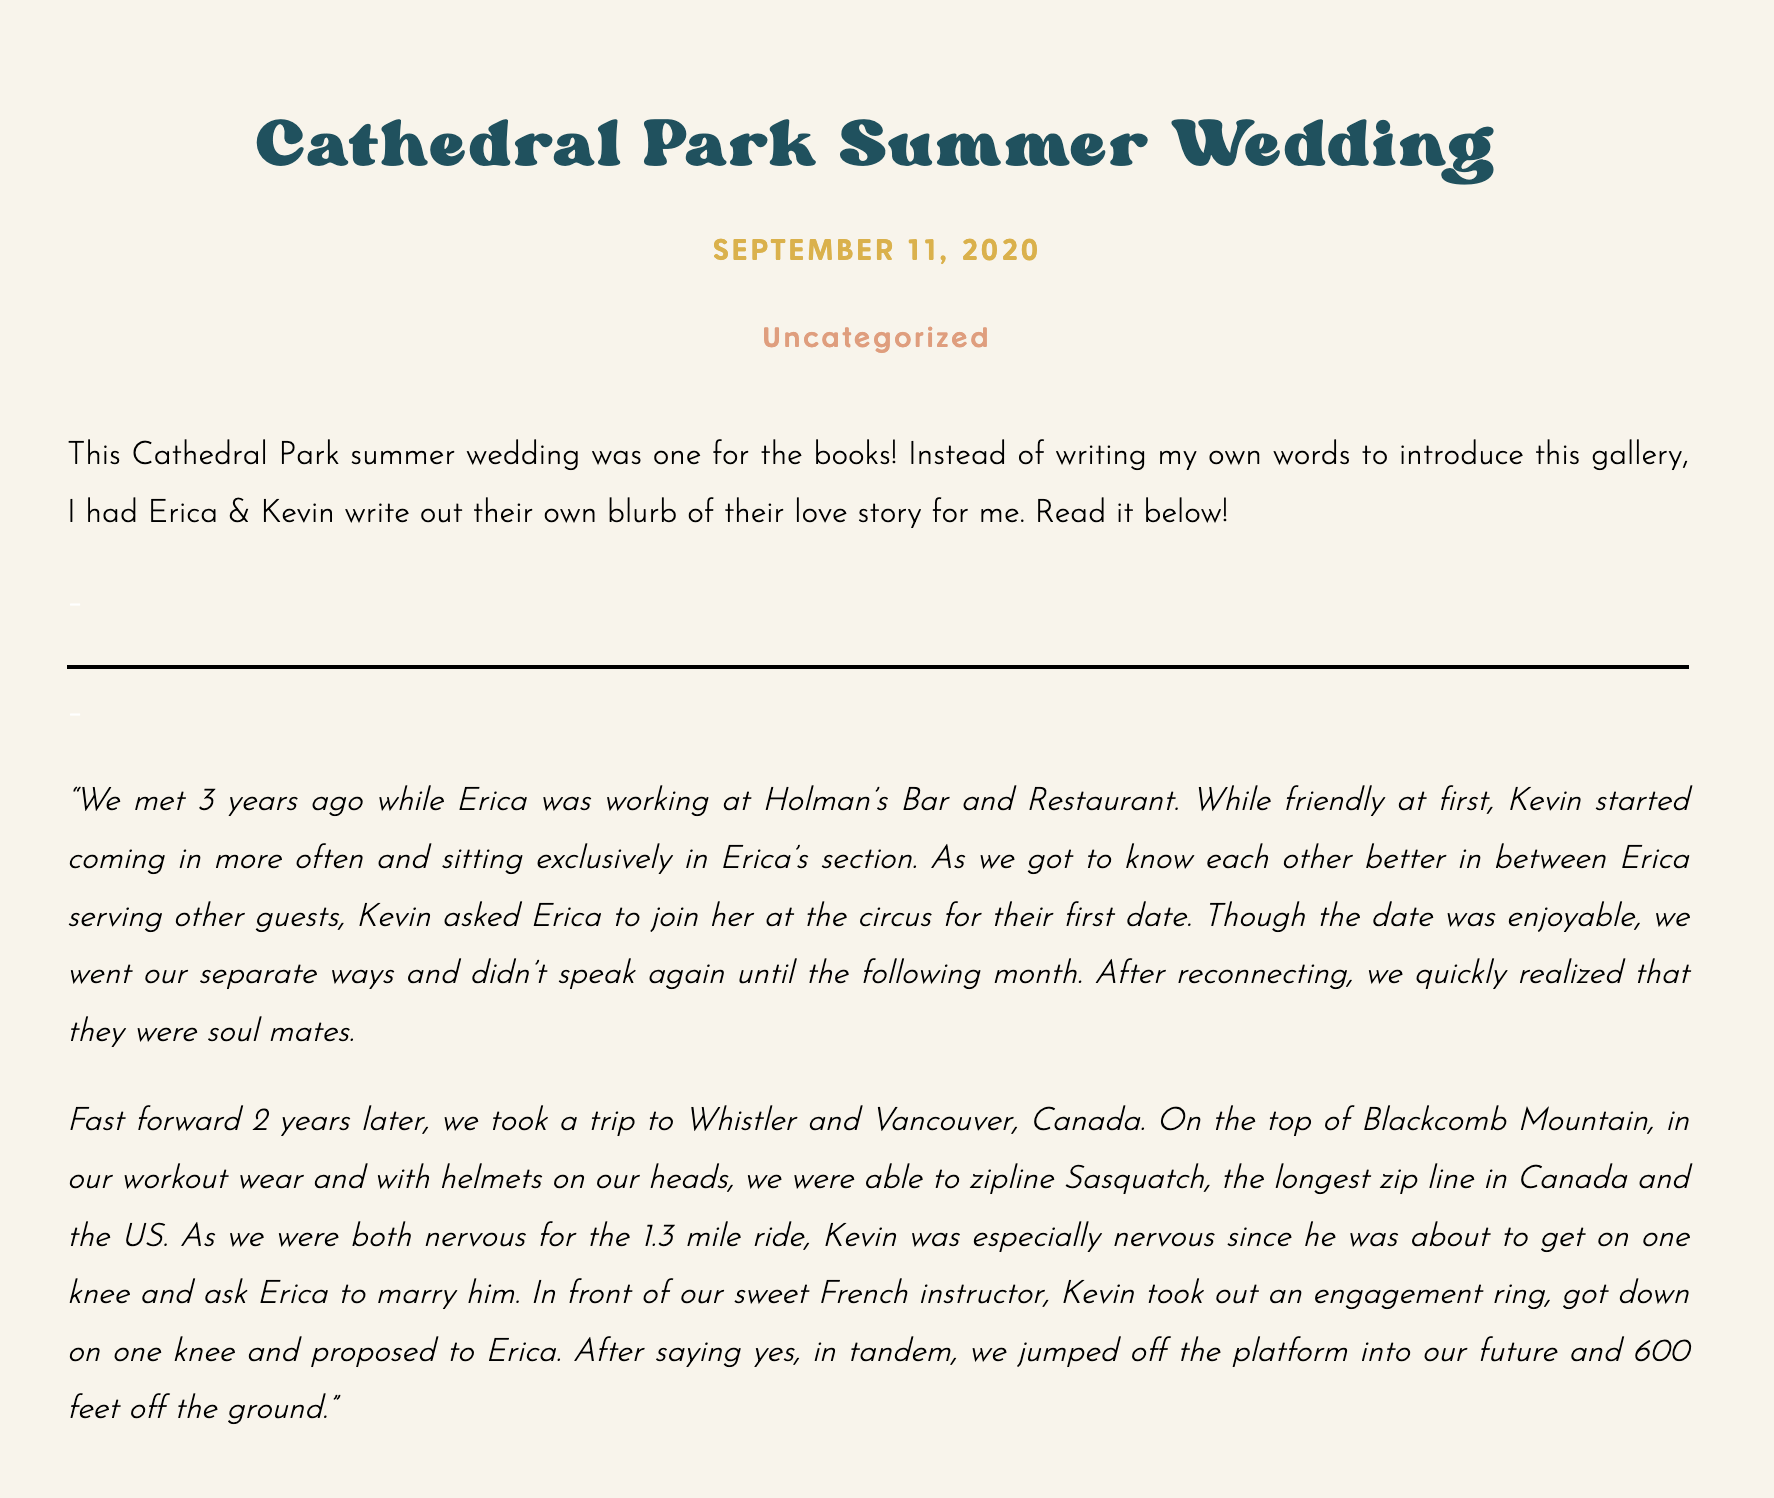
Once you have answers to these questions, boom – you have a TON of content you can then pull from, and better yet, it’s coming straight from your clients! If you’re blanking on how to start off your blog post, start by talking about how they met, using the answer they gave you in their questionnaire. Go through the whole story of their relationship, from meeting, to dating, to getting engaged, to now planning their big day. I recommend rephrasing it and telling the story in your own words, but if you REALLY need the laziest, easiest way to start, you could also just copy & paste portions of their answer. This is what I used to do in my own gallery blogs, as you can see in the screenshot below.
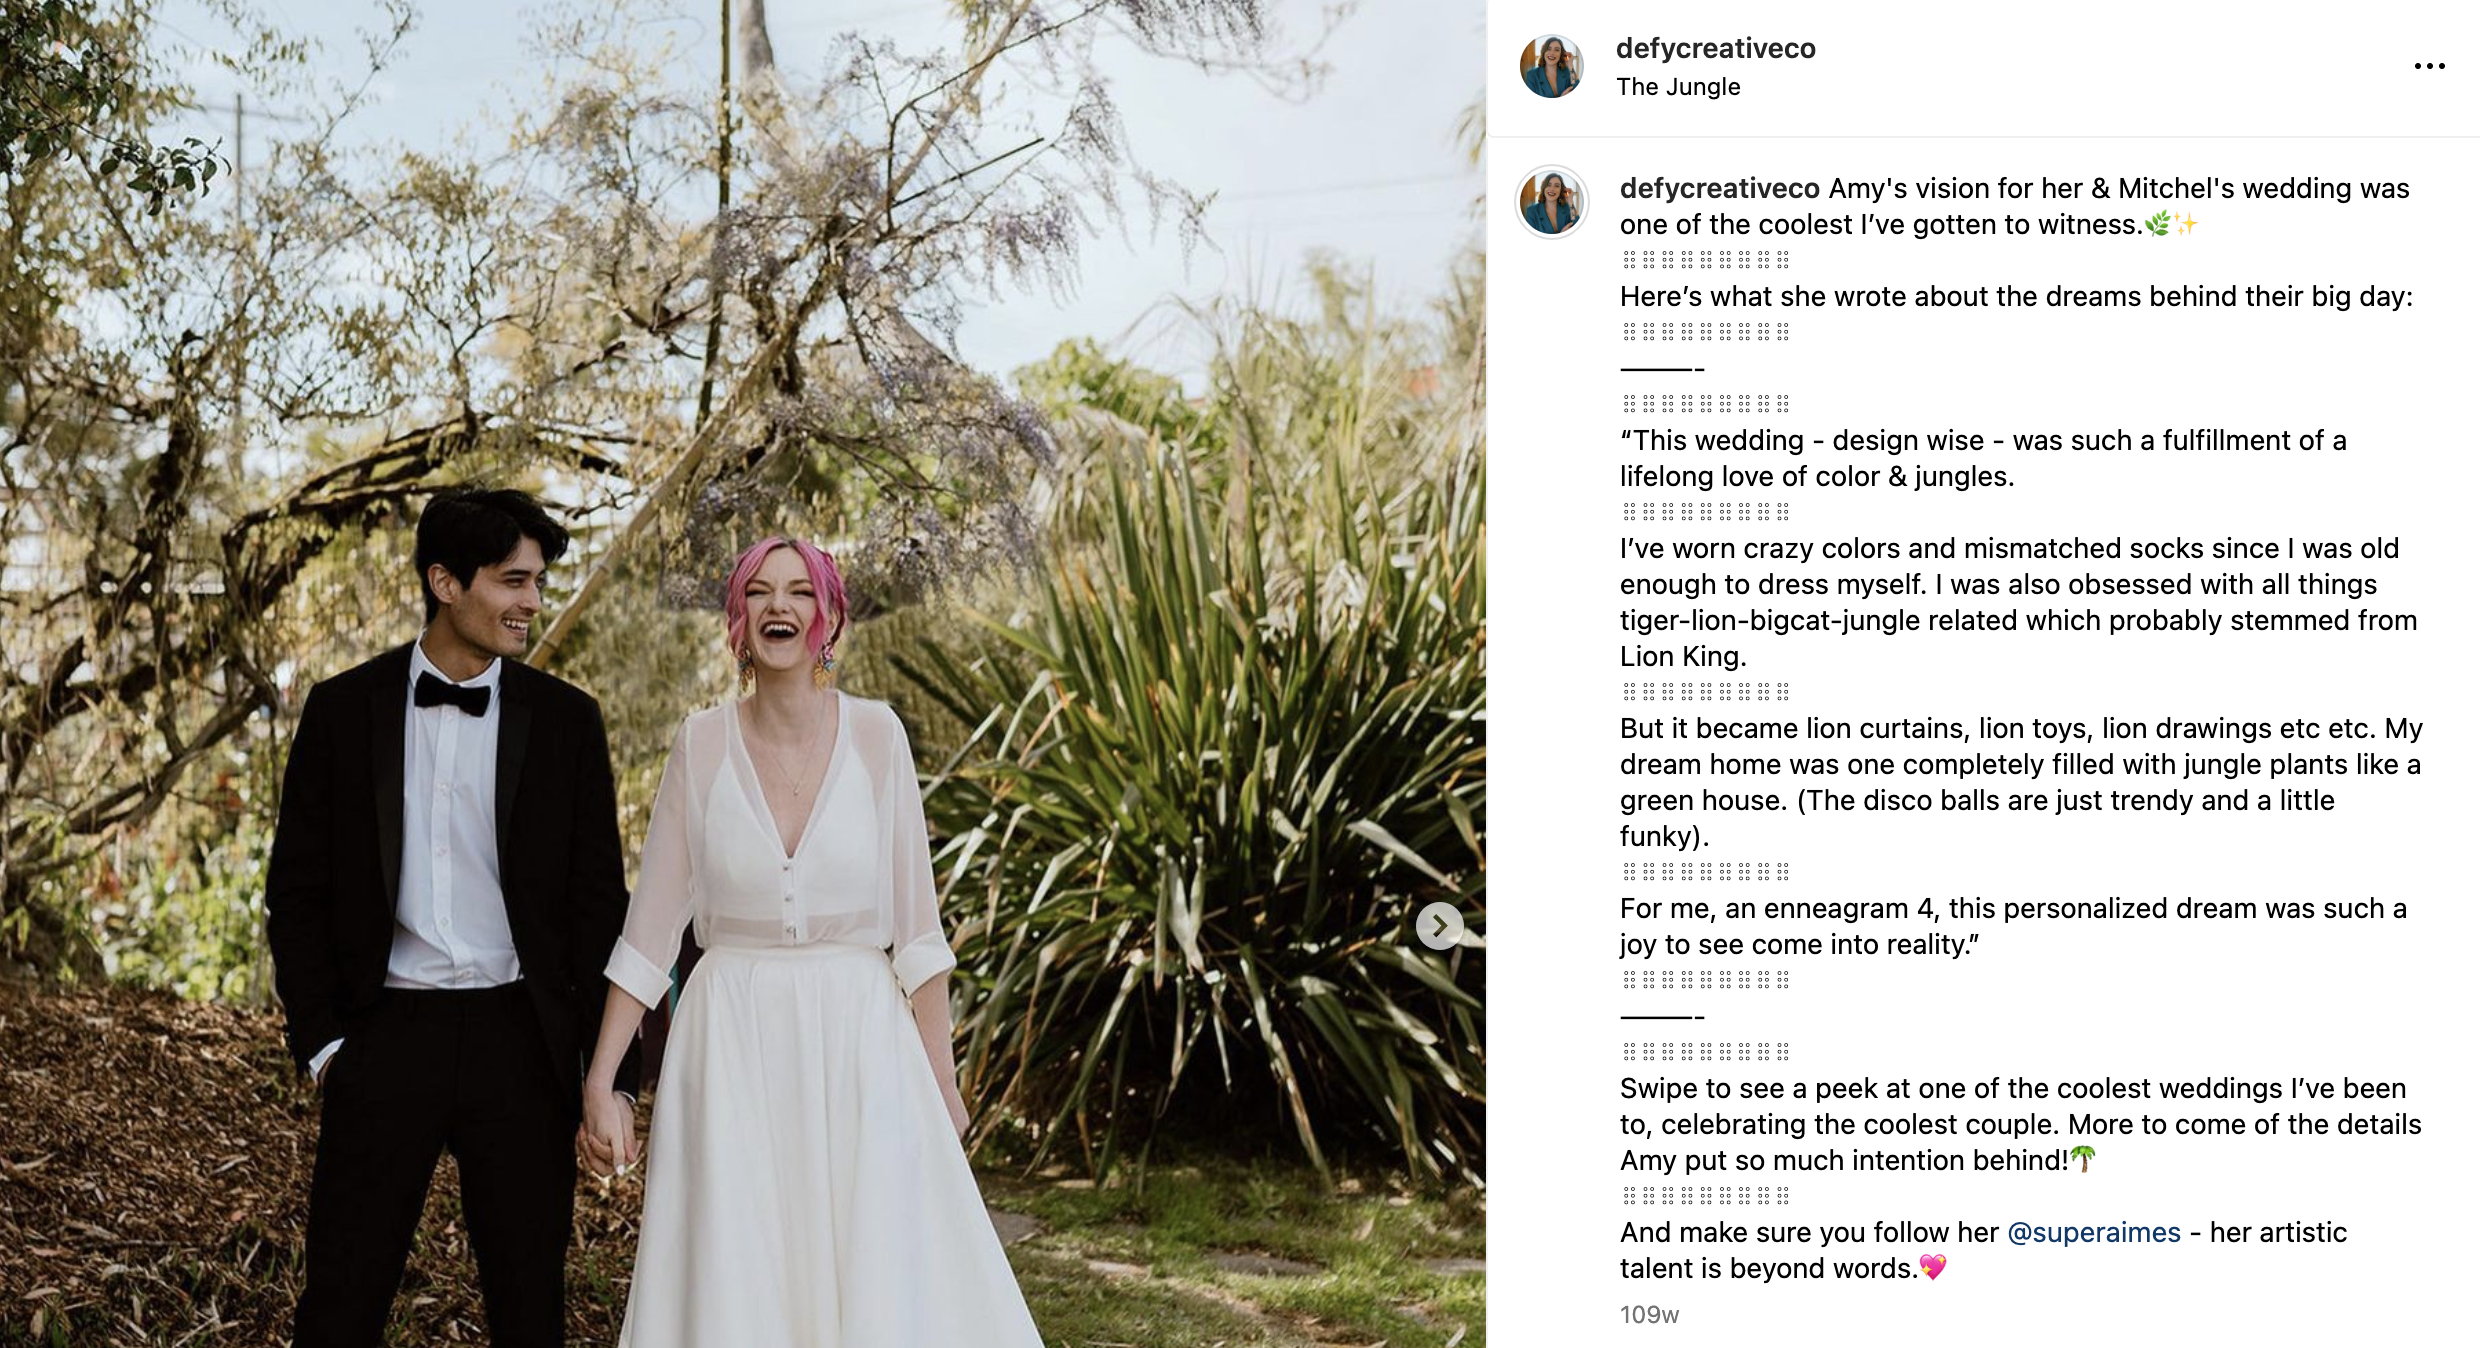
You can also describe the vision for the day in their own words if you ask them a question about it beforehand – here’s an example of how I did just that in an Instagram caption (just pretend it’s a paragraph in a blog post about the wedding)!
And I’ve got even more bonus points for you: if you send your clients any sort of feedback form or testimonial request, include their testimonial in the blog post! There are a few different ways you can do this:
1. Split up the testimonial into chunks, and incorporate them throughout the post
This is a great option if your clients’ testimonial talks about different parts of the day/of the shoot, and you can naturally include snippets while you talk about the day. E.g. if your clients wrote that you “were amazing at helping clear the room and gather all the details while Spouse #1 got ready” you could throw that into the section where you talk about + show photos of the couple getting ready!
2. Add the testimonial to the bottom of the blog post
Option 2 is to simply add the testimonial to the end of your blog post. I recommend splitting it into paragraphs to make it easier to read, adding a photo or two between the paragraphs for the same reason, and making the best sentences/phrases bold so that they’re the first thing to catch your readers’ eyes.

2. Record a voice memo on the drive home
Strategy number 2 is a SUPER easy one, and will ensure that you actually remember the details of the day when you sit down to write: record a voice memo on your phone on the drive home! Right after the shoot or the wedding, while it’s all still super fresh in your memory, pull up your Voice Memo app on your phone and just start rambling. Mention EVERYTHING you remember, because chances are, so many of the little parts of the day will be gone within a few days.
And you never know what details will end up being valuable to someone in your blog post – you might think that it’s not important to remember that there were 2 Porta Potties in the trailhead parking lot, but that could actually be super helpful info to a future couple who is looking to elope at this location, and wants to know whether or not there are bathrooms on-site!
There’s no such thing as too much, and don’t be afraid to just talk in circles if you need to. This is for you, it’s not like you’re going to be posting the voice memo to Instagram or anything.
Let’s pretend I’m going to be blogging a beautiful elopement I just shot at Cape Kiwanda, a beach on the Oregon Coast. Here are some things I might mention in my (messy, unorganized) voice memo:
- How long the couple hired me for
- What time I arrived + left
- Where they got ready
- What time we arrived to the ceremony location
- Where the ceremony was held
- How many guests there were
- What the weather was like – temperature, wind, precipitation, etc.
- How easy/difficult it was to drive there
- How easy/difficult it was to hike up the sand hill
- Whether the couple & their guests drove separately or carpooled
- What parking was available and whether it was free/paid
- Whether or not restrooms were available
- How crowded it was
- What the tide was like + whether it affected our ability to get around the beach
- How long certain portions of the day took (getting ready, first look, ceremony, portraits, etc.)
- What the best spot was for sunset portraits
- Where the sun set over the landscape
- What the lighting was like
- Where the couple went after their ceremony
See? SO many of those things might not be things you automatically think of when you sit down to write your blog, but they could actually be really helpful to someone planning their elopement at Cape Kiwanda in the future! That’s why YOU are the expert that they want to hire: because you pay attention to all of these little details that other photographers might not know about 😉
Below is an actual example of a voice memo I recorded back in the fall of 2019, right after shooting an adventure session at Cape Kiwanda. You’ll see that it’s totally all over the place and messy, but it really helped me remember certain things I would’ve forgotten by the time it came to blog about it!

3. Pull content from your past Instagram captions
Finally, this one’s for those of you who are somewhat active on the good ol’ gram (in which case, I am very impressed because I’ve fallen off the wagon as of late). Chances are that if you’re blogging a wedding that you shot last year, you’ve probably posted about it on Instagram at some point, right? This may not apply to everyone, but I know that I used to post long-ass captions about my couples because I adored them so much and wanted to share about their day soon after it happened.
So if you’re the same way, scroll back through your IG a little bit and see if you have any captions you already wrote that you can include in your blog post! Content the length of a caption won’t get you a full blog post worth of copy, no, but you can use that caption in the blog intro, or to help you remember details of the day that you may have forgotten.
And if you’re not somebody who writes long captions about your clients, consider starting to practice it from now on! Because every time you write a longer caption, that means less content you have to write from scratch when it comes time to blog about it. Make sense?
Below is an example of a caption I wrote the day after shooting a beautiful elopement at Cape Kiwanda. I could EASILY take snippets of this content and use it in the blog post, even if it just saves me from having to write an introduction (because honestly, getting started with an intro can sometimes be the hardest part!).
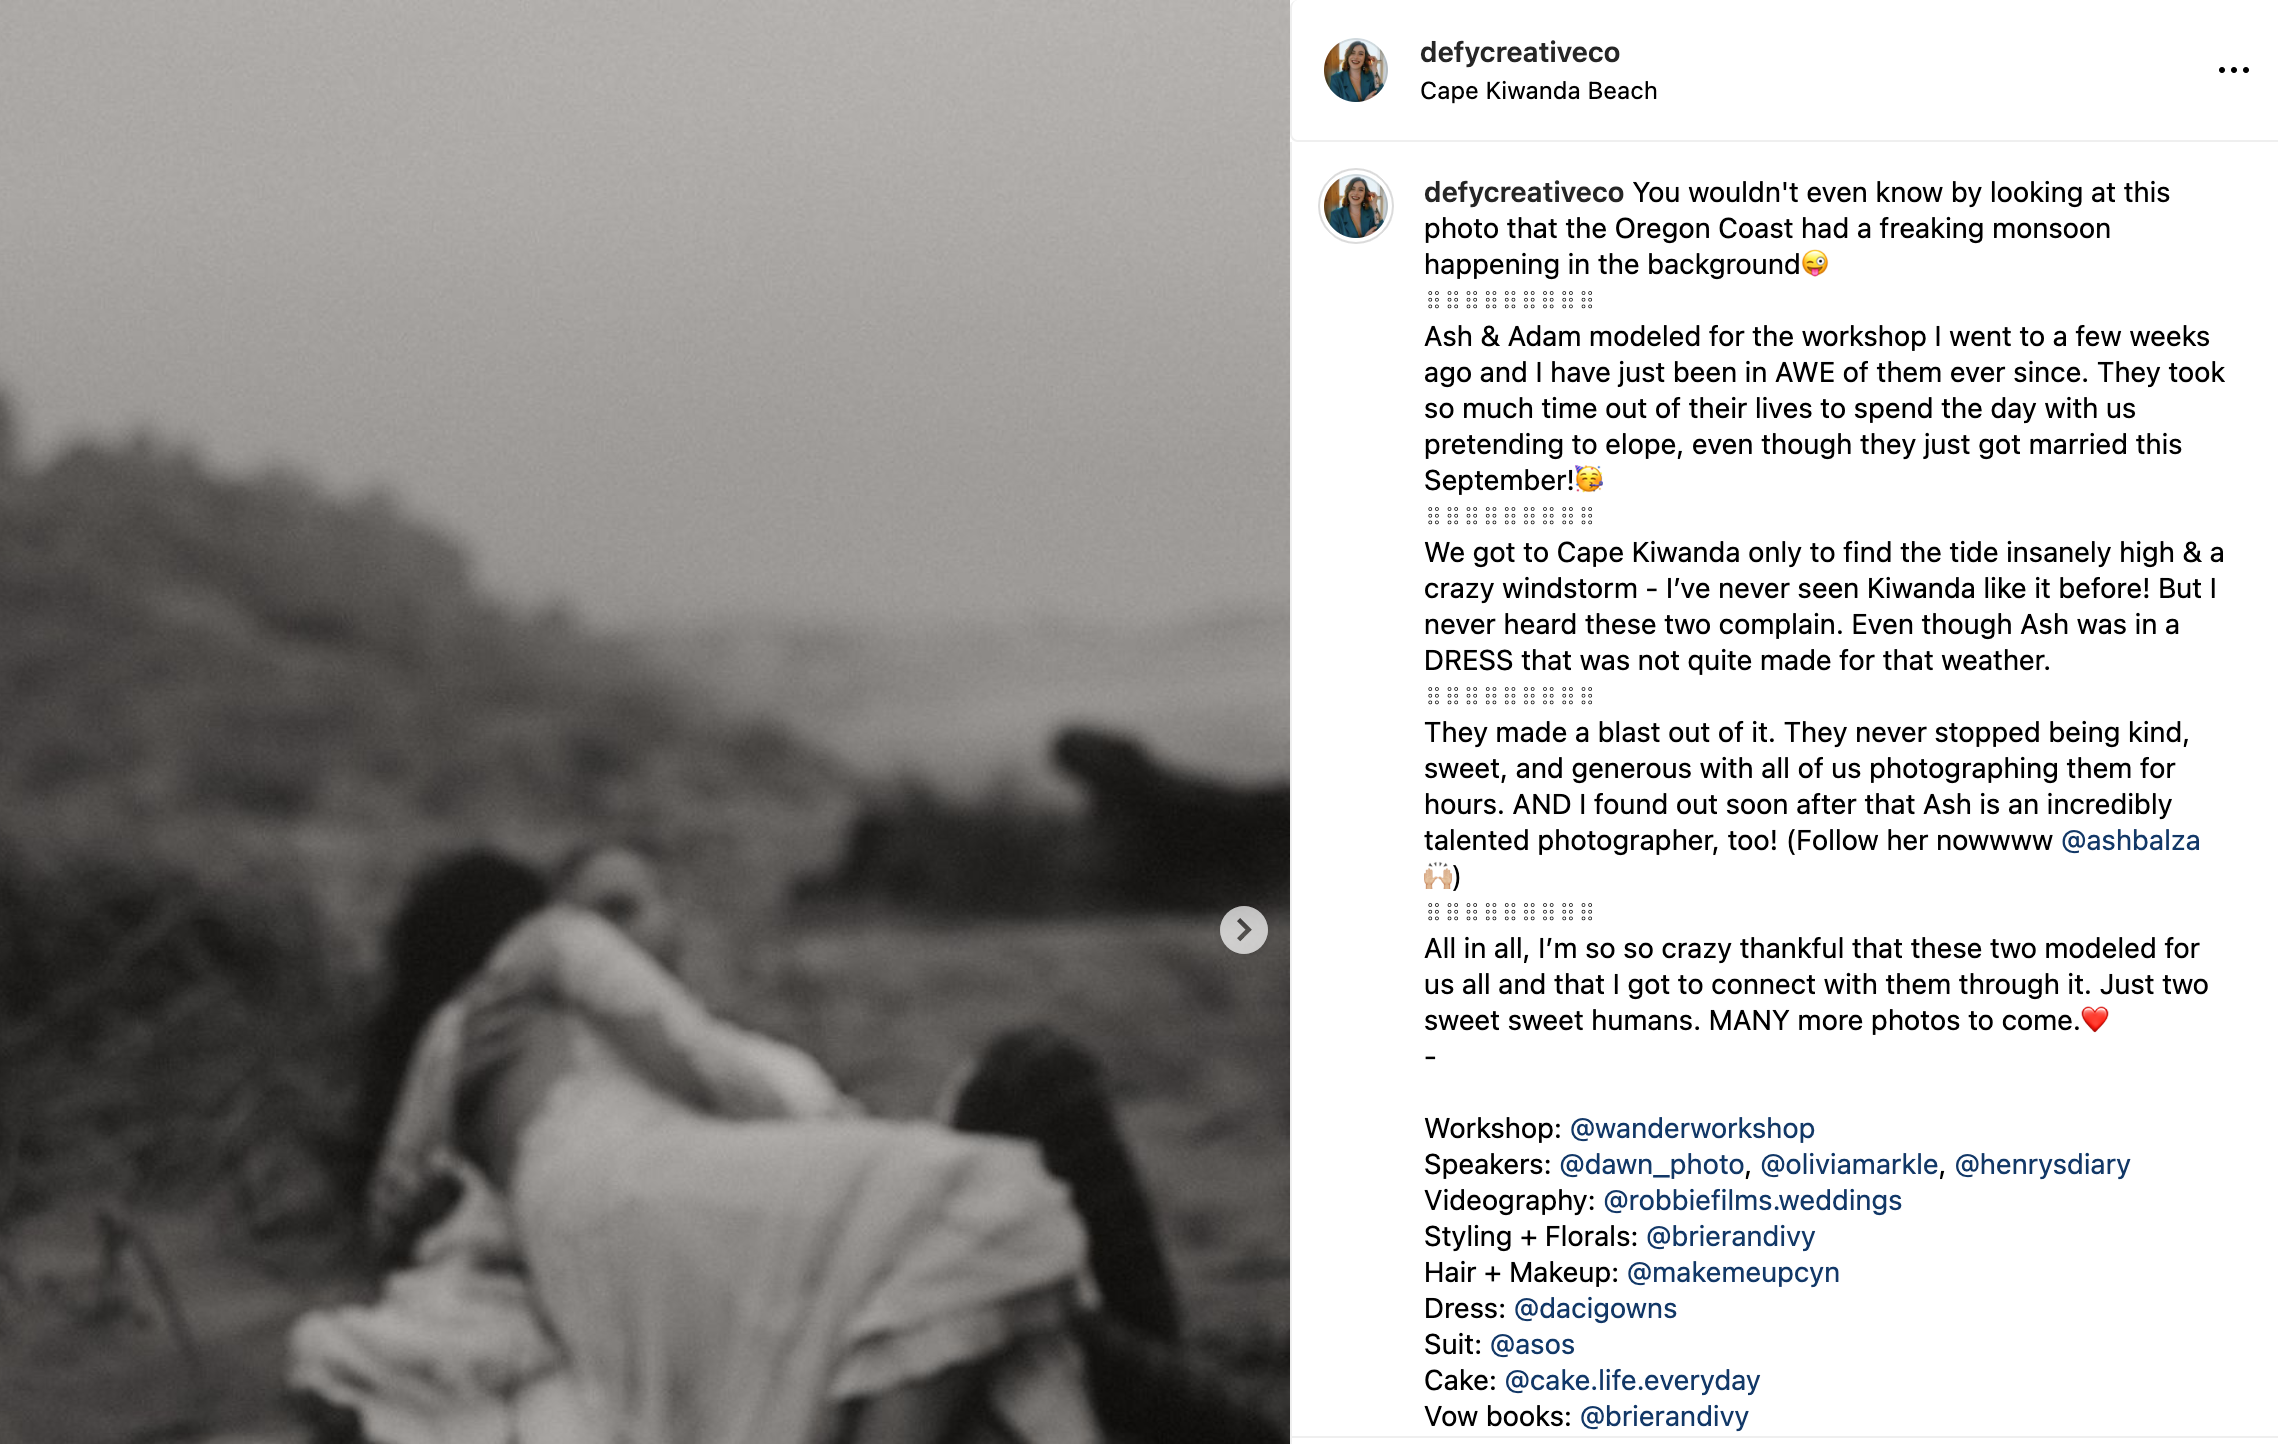
Take advantage of ANY piece of content you’ve already written, and reuse + recycle it as much as possible! I promise nobody will notice if you used a similar phrase in a caption on IG last month as you did in your newest blog – nobody’s paying that much attention.
BONUS (for article blogs): Ask for input from your audience
And because I love to over-deliver, here’s one last bonus strategy – but this time, for informational, article blogs instead of specific galleries! If you’re writing some sort of article with quick tips about X, why not ask your past clients/followers for input?
Here’s an example: years ago, I wrote a blog post with wedding planning tips from real couples (note: I was NOT using very inclusive language at that point in time), because who better to give advice than people who have actually gone through the experience themselves? I shared a story on my Instagram asking couples for their #1 wedding planning tip, and I even emailed a few of my fave clients who I knew would be down to give a little input. Then, I literally compiled these tips into a blog post and bam – the copy was written for me!!
Now, if I were to do this today, I would format the blog post a bit differently, with more images, section headings, and I would write a little bit more of my own copy to preface each tip (e.g. “Now here are a few tips about wedding budgeting, specifically!”). But you get the idea! Take a look at that blog post below to see what I’m talking about.

Okay sooo are you feeling like gallery blog posts will be a *little* more doable from now on? I hope so, because these 3 blogging strategies for wedding & elopement photographers should get your blog posts to basically start writing themselves.
And if you’re STILL feeling that writer’s block and would rather just have a blog post template that tells you exactly what to write, head over to the Defy Shop & check out my blogging templates for wedding photographers below. These templates make it even easier to publish high-quality blog posts, without struggling to come up with what the hell to write about!
Happy blogging!
[…] 👉🏼 3 Ways to Get Your Photography Blog Post to Write Themselves […]
[…] 👉🏼 3 Ways to Get Your Photography Blog Post to Write Themselves […]